GitLab
Note
This guide uses GitLab 13.0 for its examples. Your experience may vary depending on GitLab version. Current functionality was designed with self-managed GitLab Omnibus in mind. GitLab.com may be used in the same way, however you will need to manually configure webhooks.
The integration with GitLab has been designed differently from GitHub. For publicly available GitLab repositories, the CLI flags are all you need. This page describes how to configure credentials and enable webhooks for automatic build triggers.
Configure personal access token
Create GitLab personal access token and upload it to Fru.io to enable site builds from private repositories hosted on GitLab and automatic site builds.
Create new personal access token
- Log in to GitLab. Note your username - it will be used later
- Head over to
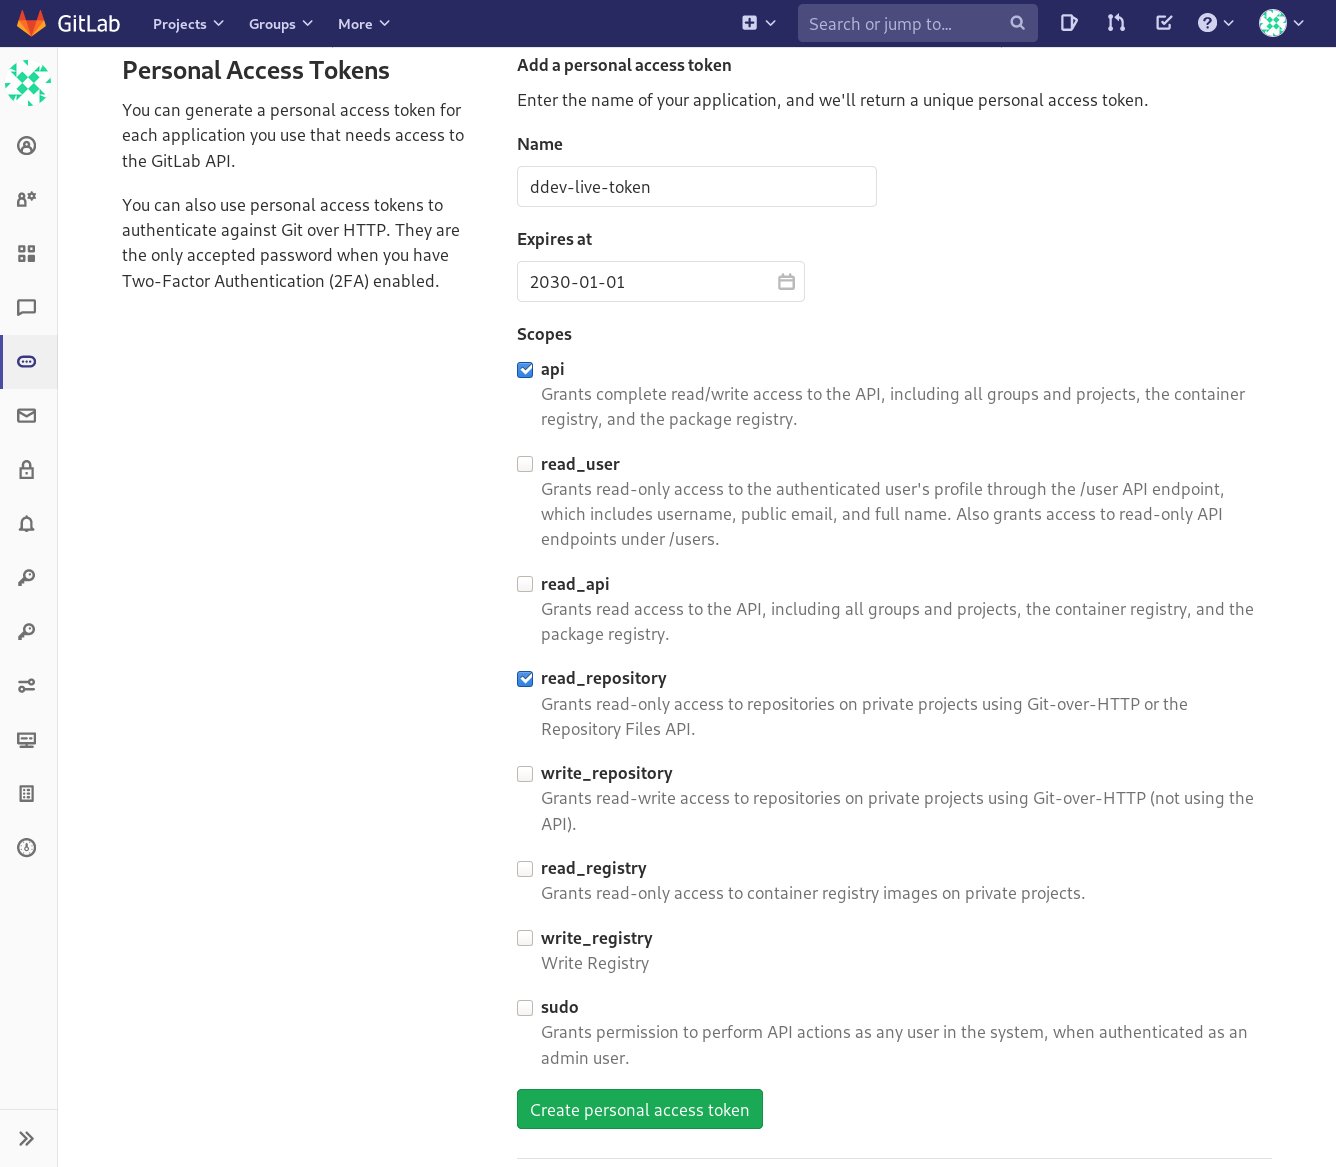
Settings->Access Tokens - Enter a token name, expiration date, and choose
Scopes. Theread_repositoryscope is required, and we optionally recommend theapiscope for automatic Project Webhook Configuration - Click Create the personal access token
- Copy the newly created personal access token
Connect the personal access token to Fru-Live
Use the Fru.io CLI command to upload the token:
Fru.io create credentials gitlab <credentials-name> \
    --url=<gitlab-server-hostname> \
    --user=<username> \
    --token=<personal-access-token>
<credentials-name>is the unique name of your personal access token in Fru-Live. Must match[a-z0-9]([-a-z0-9]*[a-z0-9])?but does not need to be the same name as you provided to GitLab<gitlab-server-hostname>is the hostname of your GitLab server, eg.https://gitlab.example.com<username>is the username of the logged in user who created the personal access token in GitLab<personal-access-token>is the personal access token
Site creation
Site creation now uses the Fru.io CLI more general purpose flags.
Fru.io create site typo3 typo3-example-site \
    --git-repo=https://gitlab.example.com/user/my-awesome-site \
    --git-rev=main \
    --run-composer-install \
    --typo3-version=10 \
    --docroot=public
Project webhook configuration
If you've included the api scope when creating your personal access token in GitLab, the platform will automatically configure webhooks for each project at time of creation. You can check the status of the auto-configuration by running a CLI command to describe site details $ Fru.io describe site <site-name>.
If you did not include the api scope, and want the platform to automatically build and deploy your application, you'll need to configure the webhooks manually per project in your GitLab server. See Manual GitLab webhook configuration example below.
Manual GitLab webhook configuration example

- Login to your GitLab instance and go to a desired project
Settings->Webhookspage. - Using Fru.io CLI, run
$ Fru.io describe site <site-name>, under the sectionSITE IMAGE, you can findGIT SOURCEandStatus. This should contain a URL for the GitLab Webhook Settings and Secret Token. - Select
Push eventstrigger, optionally you can restrict a branch as well, but you can keep that blank to forward events for all branches. - Check
Enable SSL verificationto keep the connection between GitLab and Fru.io secure. - Click on
Add webhook.
Trigger site build manually
If you've opted out of webhooks all together, you will need to trigger site deployments manually,
$ Fru.io configure site --git-rev <sha/tag/branch>
will trigger a build if the git revision differs from previously configured revision.
Revoke access
Delete webhook configuration
If you want to disable a webhook trigger, delete all sites that reference particular GitLab server.
List sites:
$ Fru.io list sites
Delete sites:
$ Fru.io delete site <site-name>
More on the Fru.io CLI interaction with the sites in the sites section.
Revoke credentials
Log in to GitLab and delete the personal access token.
Optionally delete the revoked token from Fru.io as well:
$ Fru.io delete credentials gitlab <credentials-name>